Introduction
How to program ESP8266 with Arduino IDE on Mac OS X Yosemite 10.10.3
Purpose
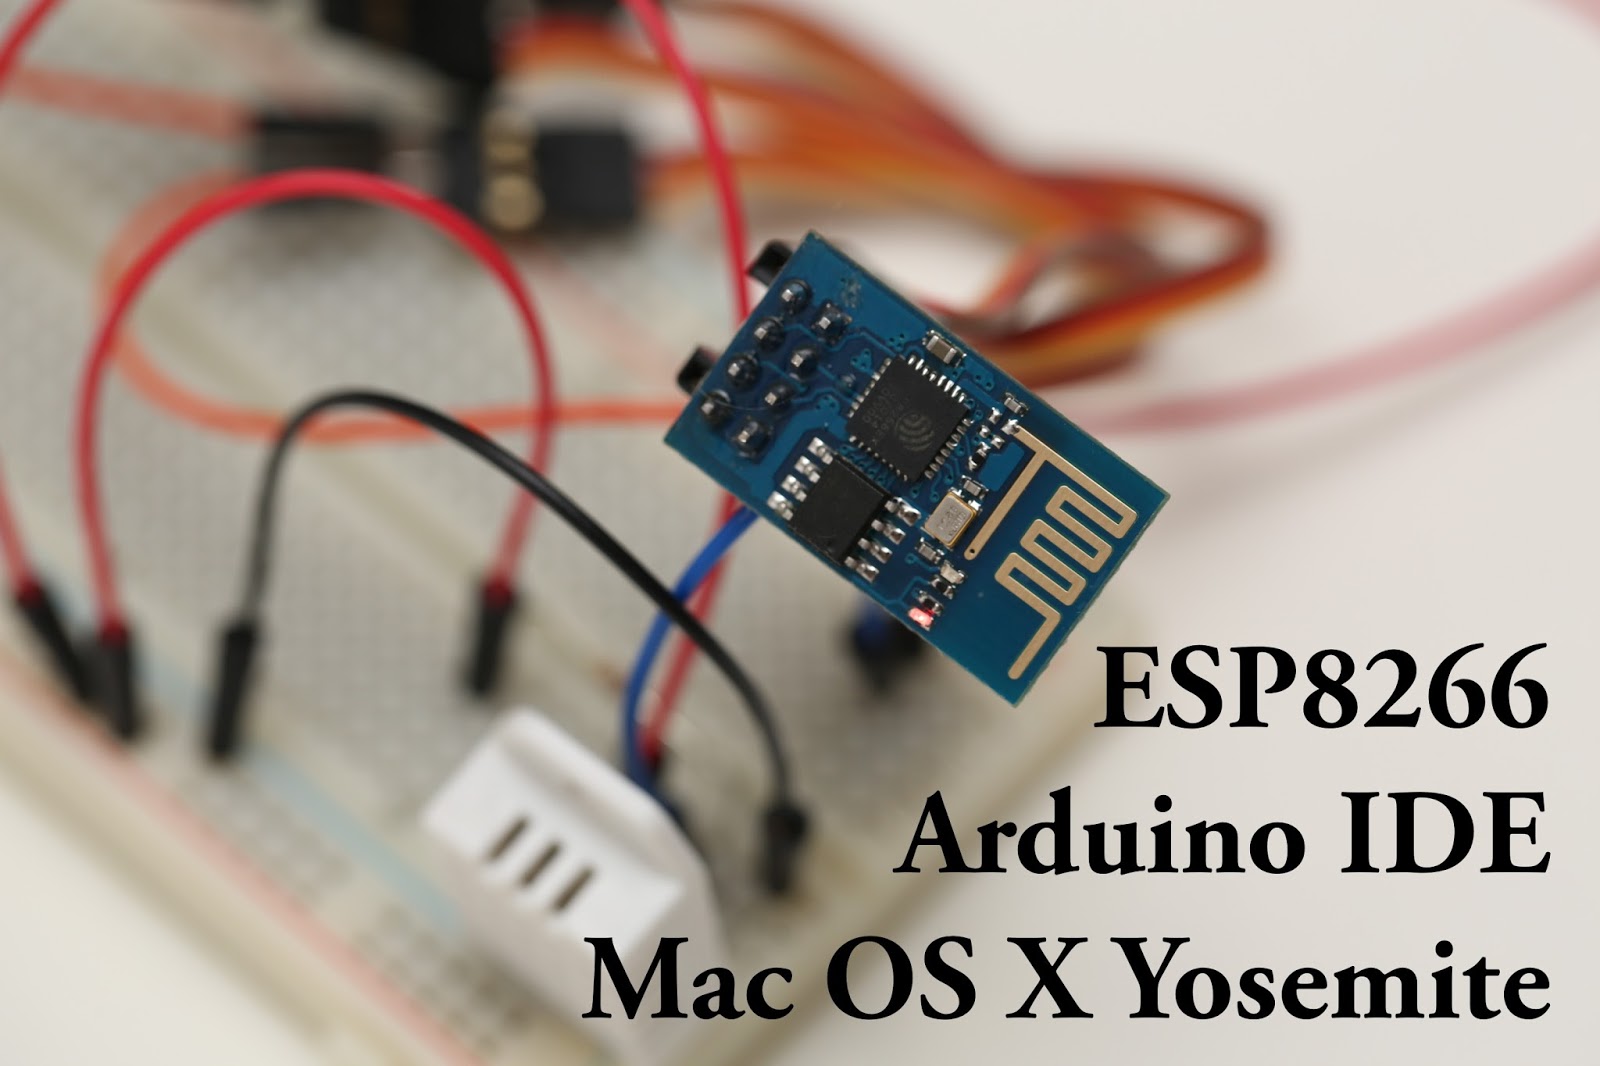
This article provides a walkaround for using Arduino IDE to program ESP8266 on Mac OS X Yosemite 10.10.3.
Environment
To be able to follow this article, make sure your environment is same as below.1. OS X Yosemite 10.10.3
2. Arduino IDE 1.6.4
3. ESP8266 Package for Arduino IDE 1.6.4-673-g8cd3697
*Refer to https://github.com/esp8266/Arduino for more information about this package
FYI, I used USB to TTL Serial Cable Adapter Chipset PL2303HX' from ebay. Different chipset may produce different output.
What is problem?
If you click 'upload' on Arduino IDE, then you most likely end up with these errors and your ESP8266 won't be programmed properly.
Sketch uses 240,292 bytes (45%) of program storage space. Maximum is 524,288 bytes.
Uploading 33216 bytes from /var/folders/94/rt16wrlj14ng3z47m6q85qgr0000gn/T/build5456473246941663239.tmp/wifi-weather-sensor.cpp_00000.bin to flash at 0x00000000
error: failed reading byte
warning: espcomm_send_command: cant receive slip payload data
warning: espcomm_send_command(FLASH_DOWNLOAD_BEGIN) failed
It means that compilation has been completed successfully, but, there is an error while it is uploading compiled binaries to ESP8266. To fix the problem, we need to identify who is taking care of the 'uploading'? It's a little program, called 'esptool' and full path to it is
/Users/$USER/Library/Arduino15/packages/esp8266/tools/esptool/0.4.4/esptool
Solution
Since 'esptool' does not work correctly, we need to use alternative tool to upload binaries to ESP8266. One of the solution is 'esptool.py', which is a little python program for uploading and it works fine on Mac.Follow these steps to install 'esptool.py', then, inform Arduino IDE to use 'esptool.py' instead of 'esptool' to upload binary to EPS8266.
Step 1: Close Arduino IDE completely
Step 2: Install esptool.py
Follow installation instruction at https://github.com/themadinventor/esptool
In my case, I just downloaded a single python file 'esptool.py', then, installed pySerial, which esptool.py requires to run. Make a note where you installed esptool.py. We need full path to it in Step 3.
All installation is done. Now, we just need to ask Arduino IDE to use 'esptool.py' we've just installed instead of 'esptool'
Step 3: Modify platform.txt file
By modifying 'platform.txt' file, we can specify 'esptool.py' as an uploading tool.In my case, I installed 'esptool.py' at /Users/$USER/tmp/esp8266/esptool/esptool.py"
/Users/$USER/Library/Arduino15/packages/esp8266/hardware/esp8266/1.6.4-673-g8cd3697/platform.txt
and move to the end of file. Then you will se this line.
tools.esptool.upload.pattern="{path}/{cmd}" {upload.verbose} -cd {upload.resetmethod} -cb {upload.speed} -cp "{serial.port}" -ca 0x00000 -cf "{build.path}/{build.project_name}_00000.bin" -ca 0x10000 -cf "{build.path}/{build.project_name}_10000.bin"
Change it like this way
#tools.esptool.upload.pattern="{path}/{cmd}" {upload.verbose} -cd {upload.resetmethod} -cb {upload.speed} -cp "{serial.port}" -ca 0x00000 -cf "{build.path}/{build.project_name}_00000.bin" -ca 0x10000 -cf "{build.path}/{build.project_name}_10000.bin"
tools.esptool.upload.pattern="/Users/$USER/tmp/esp8266/esptool/esptool.py" --port "{serial.port}" write_flash 0x00000 "{build.path}/{build.project_name}_00000.bin" 0x10000 "{build.path}/{build.project_name}_10000.bin"You can change the full path to esptool.py to wherever you installed esptool.py on your system.
Step 4: Open Arduino IDE and Load esp8266 example sketch
Set 'Board' to 'Generic ESP8266' and 'Port' to wherever ESP8266 connected to currently. It is '/dev/cu.usbserial/' in my case.
Click 'upload' on Arduino IDE, then you will see following message if everything goes well.
Sketch uses 240,292 bytes (45%) of program storage space. Maximum is 524,288 bytes.
/Users/$USER/tmp/esp8266/esptool/esptool.py --port /dev/cu.usbserial write_flash 0x00000 /var/folders/94/rt16wrlj14ng3z47m6q85qgr0000gn/T/build8386918307655313675.tmp/wifi-weather-sensor.cpp_00000.bin 0x10000 /var/folders/94/rt16wrlj14ng3z47m6q85qgr0000gn/T/build8386918307655313675.tmp/wifi-weather-sensor.cpp_10000.bin
Connecting...
Erasing flash...
Writing at 0x00000000... (3 %)
Writing at 0x00000400... (6 %)
Writing at 0x00000800... (9 %)
.
.
.
Writing at 0x00007400... (90 %)
Writing at 0x00007800... (93 %)
Writing at 0x00007c00... (96 %)
Writing at 0x00008000... (100 %)
Erasing flash...
Writing at 0x00010000... (0 %)
Writing at 0x00010400... (0 %)
Writing at 0x00010800... (1 %)
.
.
.
Writing at 0x00041c00... (98 %)
Writing at 0x00042000... (99 %)
Writing at 0x00042400... (99 %)
Writing at 0x00042800... (100 %)
Leaving...
Now, ESP8266 starts to run with newly installed sketch.
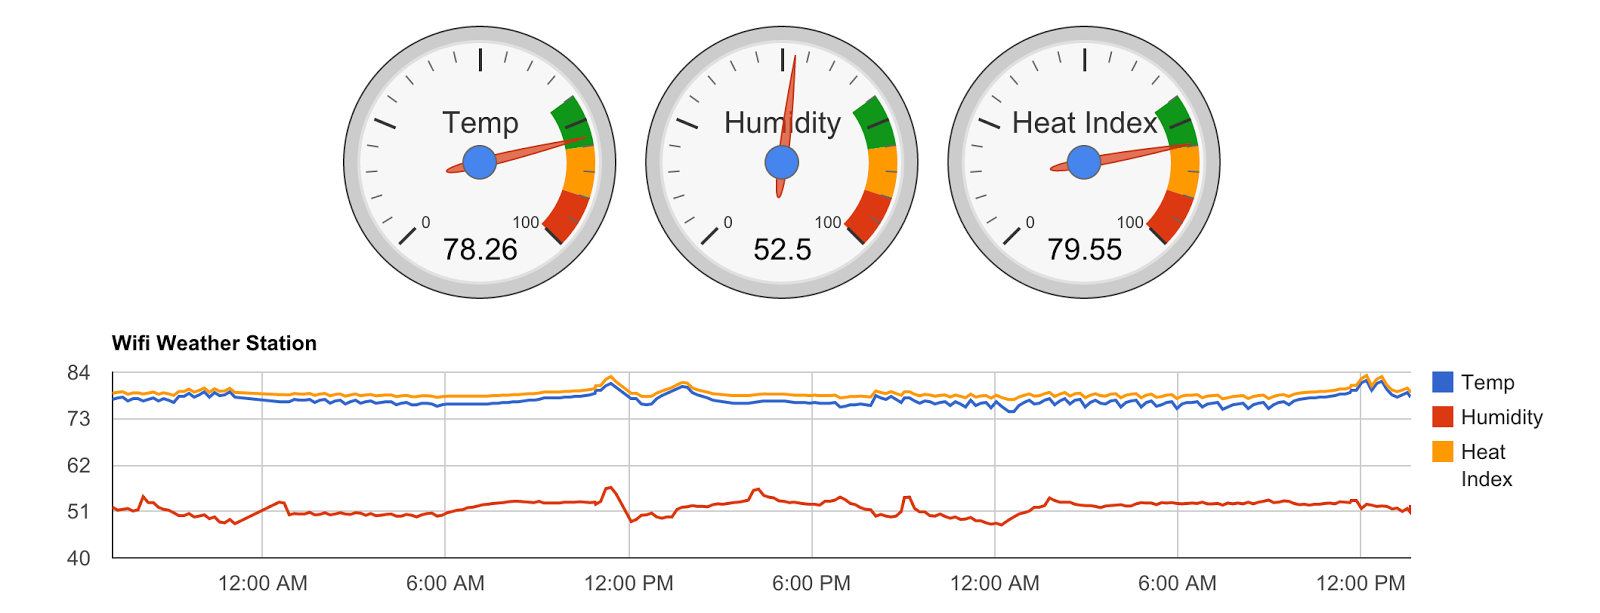
In the following post, I will describe how I made a wifi weather monitoring system using ESP8266, DHT22 sensor, data.sparktfun.com, and Google Chart APIs.
Thanks
